Thursday, December 28, 2017

Salted Caramel Pumpkin Oat Cookies

I love the holiday season and the new ingredients that appear during this time because it reminds me of traditions with family and friends. The time preparing for the holiday is in some ways more exciting than the actual day. I grew up with my mom making a large variety of Christmas cookies every year so I love the familiar recipes that remind me of being a kid, but also like to experiment with new creations.

I created this recipe for Salted Caramel Pumpkin Oat cookies a couple months ago. They feature a ton of holiday flavor all rolled into one cookie and are super soft and delicious. During the past couple weeks I have had a lot of questions about the recipe for these so I wanted to ensure I included these as a post before the season ends. I am also pretty sure that the salted caramel chips are a seasonal variety and not sure they will make an appearance in stores next year so better make them while you still can!


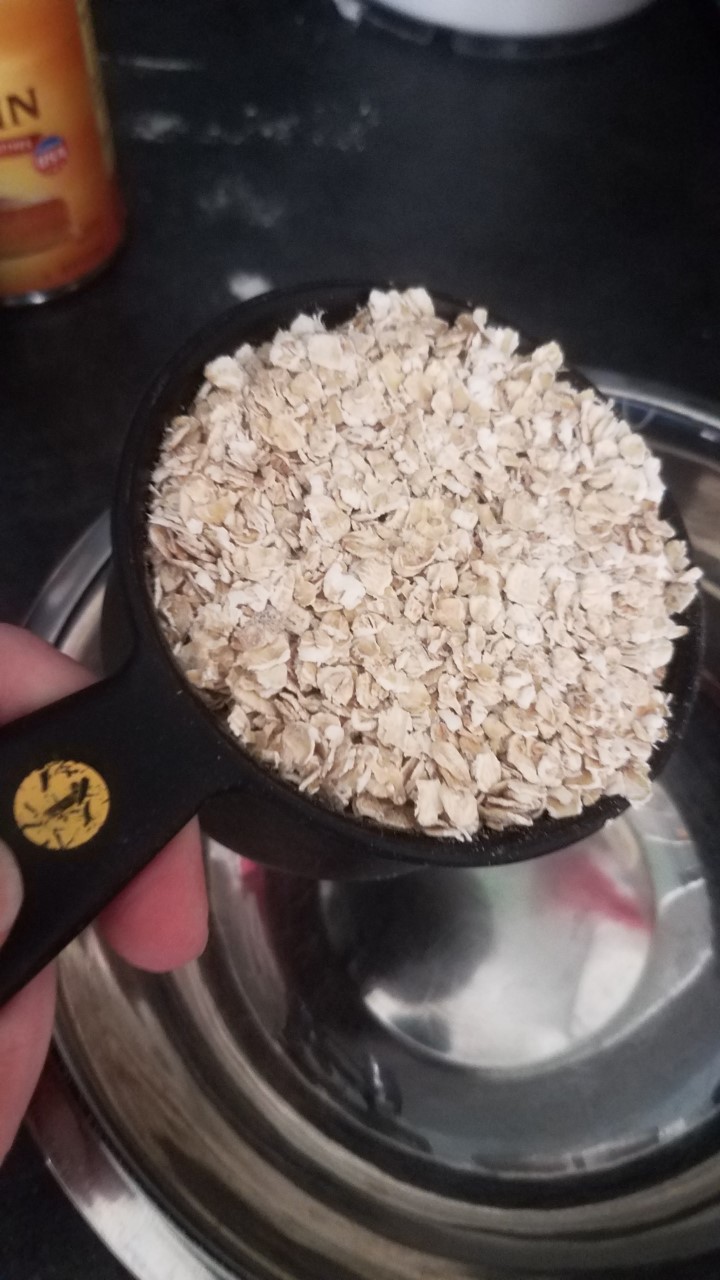
Start by gathering your ingredients


I used these chips as an inspiration for this recipe, but they are not the easiest to find. Currently you should be able to find them in some Target locations and I have also seen them on Amazon. If you cannot find them feel free to substitute Ghiradelli caramel chips, or white chocolate chips. They won't be "salted caramel" in this case, but still delicious.


In a medium mixing bowl mix together the flour, oats, spices, baking soda, baking powder, and salt.


In a large mixing bowl cream the butter and sugars together using an electric mixer.


Add the egg and beat until fluffy.


Mix in the vanilla extract and then the pumpkin puree.


On the low setting stir in the flour mixture.

Then add the chips.


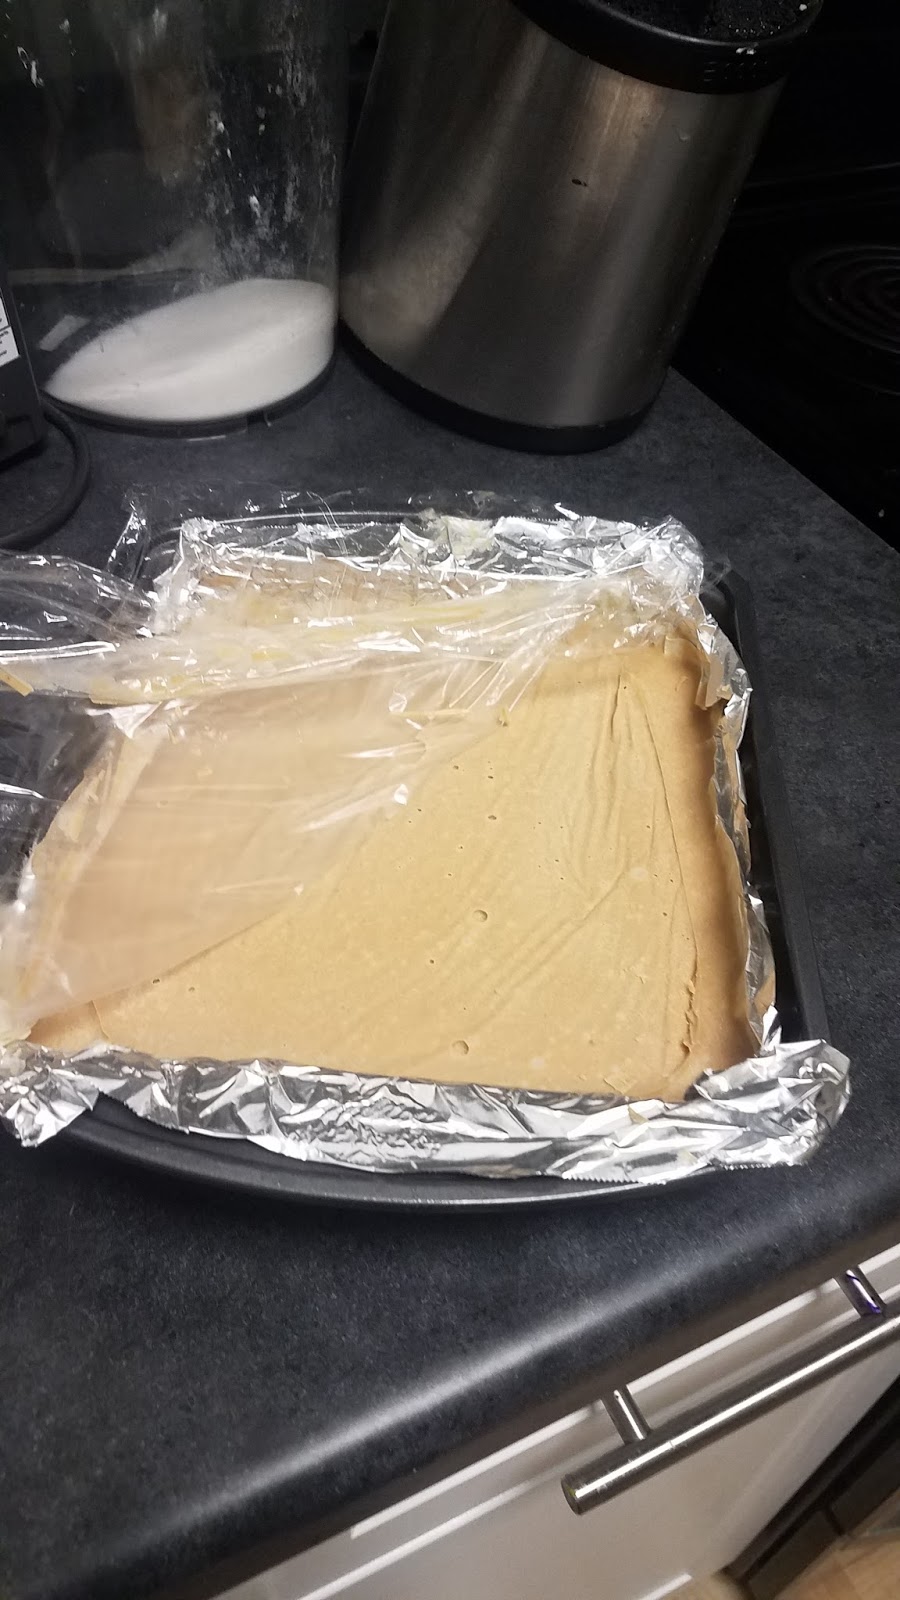
Your finished dough should look super light and fluffy like this.


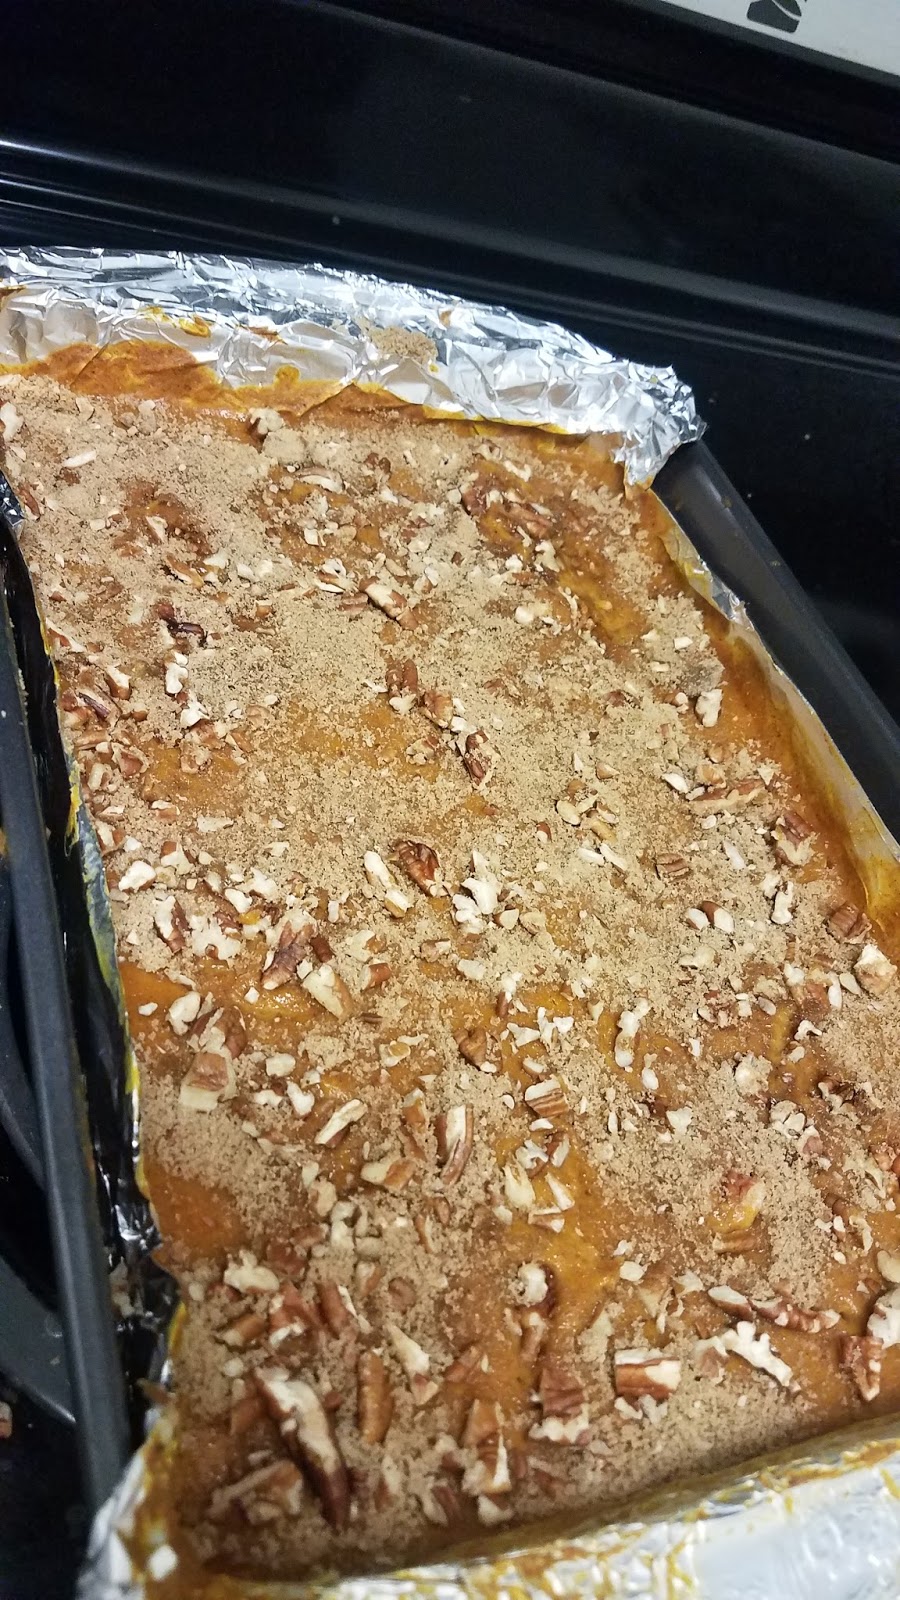
Using a medium cookie scoop portion the dough on baking sheets lined with parchment paper. Ensure you leave enough room in between each one to allow for the cookies to spread while baking.


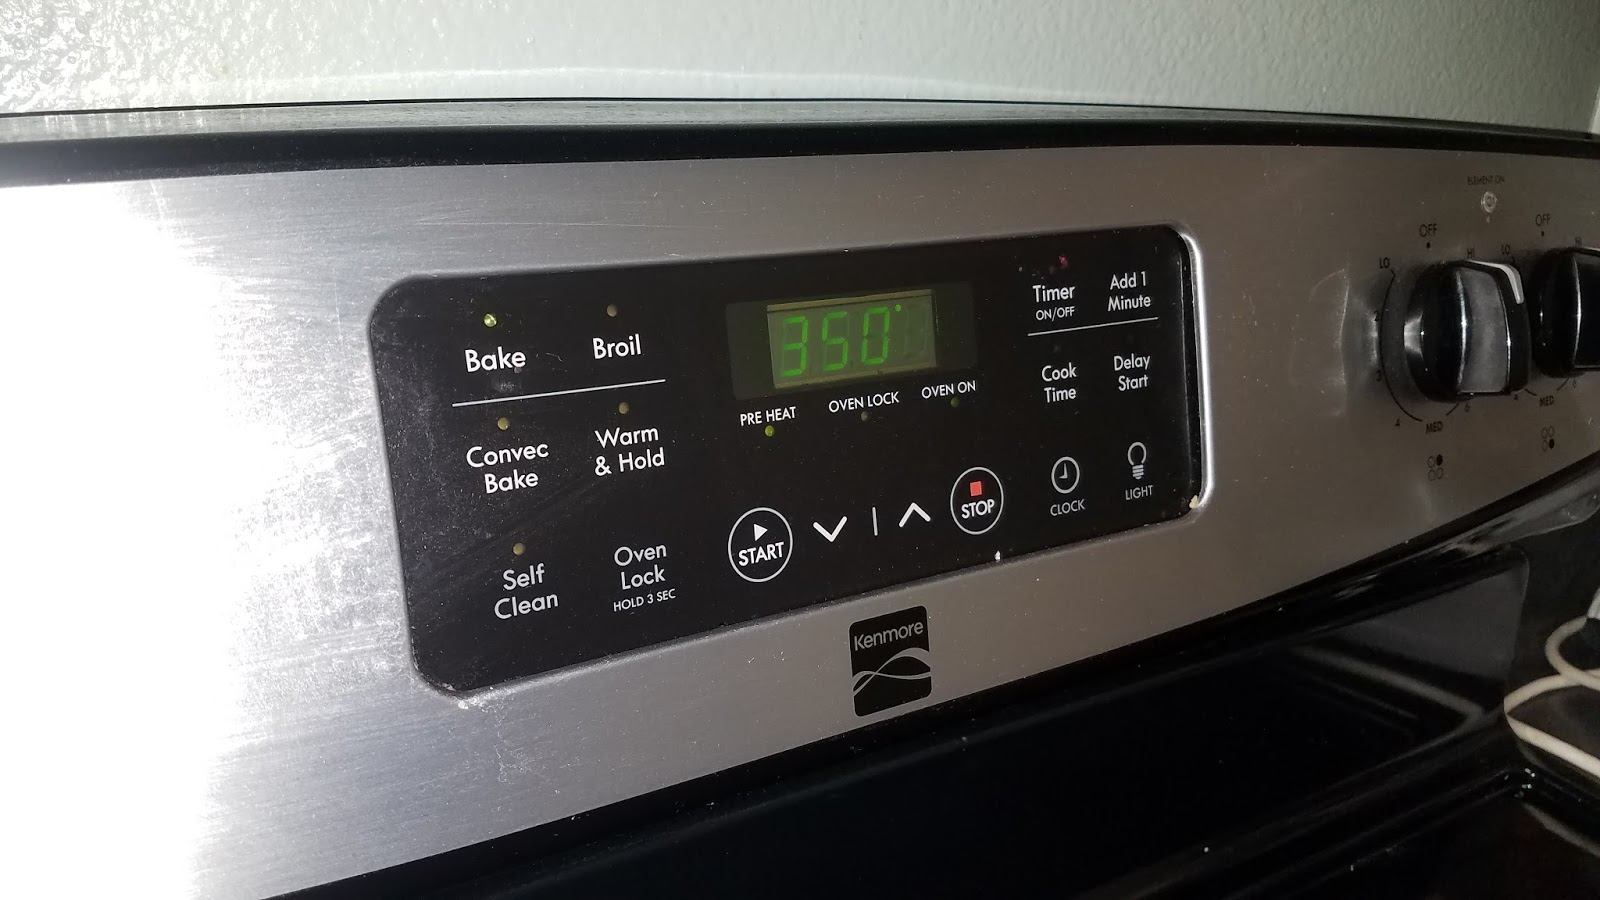
Bake for about 12 minutes at 350 F. Allow to cool completely before stacking as these cookies are very soft and will stick together.


Enjoy!


Make Ahead Tip- This dough can be pre-portioned and frozen individually so that you can easily make a batch of cookies on any day. Simply portion the dough balls onto a sheet tray and freeze for a couple hours. Remove the tray from the freezer and transfer all of the frozen portions of dough into a freezer bag. Place back into the freezer until the mood for cookies strikes you. These can be baked straight from frozen and only require a couple extra minutes added to the bake time.


Salted Caramel Pumpkin Oat Cookies


Makes 3 Dozen


• 2 cups all-purpose flour
• 1 cup quick-cooking oats
• 1 1/2 teaspoon pumpkin pie spice
• 1 teaspoon baking soda
• 1/2 teaspoon baking powder
• 1/2 teaspoon salt (reduce to 1/4 tsp. if using salted butter)
• 3/4 cup butter, softened
• 1 cup packed brown sugar
• 1/2 cup white sugar
• ¾ cup pumpkin puree
• 1 egg
• 1 1/2 teaspoons vanilla extract
• 1 cup salted caramel chips
*1/2 teaspoon if using chip flavor other than salted caramel

Directions

1. Preheat oven to 350 degrees F (190 degrees C).
2. Mix flour, oats, pumpkin pie spice, baking soda, baking powder, and salt together in a medium mixing bowl.
3. In a large mixing bowl beat butter, brown sugar, and white sugar together in a bowl until creamy. Add egg and mix well. Next add in pumpkin and vanilla extract; beat until smooth.
4. Stir flour mixture into creamed butter until combined. Fold chips into batter.
5. Use a medium cookie scoop to portion batter for each cookie onto a greased baking sheet or a baking sheet lined with parchment paper.
6. Bake in the preheated oven until the edges of each cookie are lightly browned, 8 to 10 minutes or 12 minutes if baking from frozen.
7. Cool on the pan for 10 minutes than transfer to a cooling rack.
8. Share with friends and enjoy!

Saturday, December 23, 2017

Nutella Peanut Butter Fudge


My birthday was last week and I was lucky enough to be surprised with a dozen cupcakes. I shared the majority of these, but the one I immediately claimed for myself was chocolate peanut butter cup flavored. Chocolate and peanut butter has always been (and probably always will be) my favorite flavor combination. The best part of this cupcake was the peanut butter frosting. I really wish I could just eat a big bowl of it, but of course that is not socially acceptable.

Earlier this week I combined the same chocolate peanut butter goodness into a treat that is just as tasty, makes a great gift, and is not frowned upon if you eat it straight in public. Let's not think about how this is basically thick frosting...


Here are the ingredients you will need:


To get started line a square pan with foil and spray with non-stick spray.


To prevent lumps of powdered sugar in your fudge sift 4 1/2 cups and set aside.


Next in a heavy duty sauce pan combine the butter and the peanut butter:


Cook the mixture until it comes to a boil.


Quickly work to stir in the powdered sugar, salt, and vanilla extract.


Heat the nutella for 30 seconds in a microwave and then add to peanut butter mixture. Stir just a few times so that you will have a swirled effect.


Transfer the mixture to the prepared pan and distribute evenly with a spatula or spoon.


Cover with a piece of plastic wrap and smooth the top. 


Chill for 2 hours, slice into 32 pieces, and enjoy!


Yes, it's that easy and oh so amazing!


Nutella Peanut Butter Fudge


Ingredients:


  • 1¼ cups salted butter
  • 1¼ cups smooth peanut butter
  • 1/8 tsp salt
  • 1 Tablespoon vanilla extract
  • 4½ cups powdered sugar
  • 1/4 cup Nutella


Directions:


  1. Line an 8x8 or 9x9 baking pan with foil and spray with non-stick spray
  2. In a medium saucepan over medium heat, heat the butter and peanut butter until the mixtures comes to a boil. Remove from the heat.
  3. Stir in the powdered sugar until smooth and no lumps remain. Add in vanilla and salt and stir again.
  4. Heat Nutella in microwave and then add to peanut butter mixture. Stir to achieve a swirled effect.
  5. Pour the fudge mixture into the prepared pan and smooth the top. Cover with a piece of plastic wrap and press down in all areas to ensure it is smooth and even. Cool until set in the refrigerator, about 2 hours.
  6. Cut into 32 pieces and share with friends!


Fudge can be stored at cool room temperature in an airtight container.

Tuesday, December 19, 2017

Vegan Peanut Butter Fudge

Somehow Christmas is only 6 days away, but it is definitely not too late to make holiday treats for your friends and family. I am currently in full-blown treat production mode and am definitely not slowing down until after the the 25th... or maybe the 26th.

Obviously I love to bake, but candy making is also a passion of mine and one of my favorite types of candy to make is Peanut Butter Fudge. I have won blue ribbons in WA and CA for a traditional type of this candy, but after requests for more dairy-free and vegan treats I decided to update this treat to be able to be universally enjoyed.


Everyone deserves a treat and you definitely do NOT have to be vegan to enjoy this. The best thing about this recipe? It is soooo incredibly easy and does not require a lot of special equipment or a ton of ingredients.

These are all of the ingredients that you need:


Let's talk coconut oil for a second. It's not cheap and you are going to use quite a bit of it for this fudge. If you know (or at least think you will be using) more for other recipes consider buying this from Amazon or Costco and you will save a lot of money. You can find it at pretty much any grocery store nowadays though so don't worry about not being able to make this deliciousness if you don't plan ahead.

To get started line an 8x8 or 9x9 pan with aluminum foil, spray with non-stick spray, and set aside.

Then combine equal parts peanut butter and coconut oil in a heavy-duty sauce pan. Stir to combine and cook until the mixture starts to boil. Please be careful with this mixture as you can definitely get burned if it splashes on you.


Next remove the pan from the heat and add in 4 and 1/2 cups powdered sugar. 
Tip 1: In order to prevent chunks of sugar in your fudge, sift the sugar before adding.
Tip 2: Have all of your sugar measured out and ready to go before you take the pan off the heat as you want the sugar to be able to melt.


Stir immediately to combine so the sugar is fully incorporated. 
Tip 3: I used an electric hand mixer because it makes this process really easy. If you have one I highly recommend. 

Add in salt and vanilla extract and mix to combine.


When the mixture is smooth and still very warm pour into the pan that you prepped earlier.


Cover loosely with plastic wrap and place in your fridge to cool and set-up. After a couple hours this will be all set-up and ready to cut into shareable pieces. 


This fudge is very rich so definitely cut into small pieces, but it is very likely your friends will not be able to stop at just one piece.


I was told today that this was the best thing someone has ever eaten. If you give the recipe a try let me know if you agree!


Vegan Peanut Butter Fudge


Ingredients:

1¼ cups coconut oil
1¼ cups smooth peanut butter
1/8 tsp salt
1 Tablespoon vanilla extract
4½ cups powdered sugar

Directions:

1. Line an 8x8 or 9x9 baking pan with foil and spray with non-stick spray.
2. In a medium saucepan over medium heat, heat the coconut oil and peanut butter until
the mixtures comes to a boil. Remove from the heat.
3. Stir in the powdered sugar until smooth and no lumps remain. Add in vanilla and salt and stir again.
4. Pour the fudge mixture into the prepared pan and smooth the top. Cover lightly with a piece of plastic wrap and cool until set in the refrigerator, about 2 hours.
5. Cut into 32 pieces and share with friends!

Fudge can be stored at cool room temperature in an airtight container.


Monday, October 16, 2017

Pumpkin Pecan Pie Bars

Hey Friends!

It has been way too long since my last post, but due to popular demand for recipes I'm back and once again it is fall, my favorite baking season.
This past Saturday was National Dessert Day and since I am trying to cram in as much Pumpkin Spice into this season as I can I decided to make a batch of Pumpkin Pie Pecan Bars. Pumpkin Pie is oddly enough one dessert that I am not a huge fan of. However, the great thing about these bars is that the filling to crust ratio is much more on point. There is also more texture thanks to the addition of a pecan topping.

The result is the flavor of the most classic fall dessert, but in a super portable version, that is perfect for sharing. Yeah, you know you want one...


So let's get started!

Preheat your oven to 350°F and line a 13x9 pan with aluminum foil (no need to grease).


Next prepare the crust. The best thing about this crust recipe is that FIVE of the ingredients have the exact same amount so it is easy to remember.

Combine a half cup each of the following in a mixing bowl:
  • All-Purpose Flour
  • Whole Wheat Flour
  • Quick Cooking Oats
  • Light Brown Sugar
  • Softened Butter


Next add 1 1/2 tsp. of vanilla extract.


When the mixture is done it should look crumbly like this:


Transfer the dough to the pan and press firmly in all areas. Then place in the pre-heated oven and bake for 15 minutes.


Meanwhile we are going to prepare that classic pumpkin filling.


In a medium bowl combine:
  • 1 15 oz can of Pumpkin Puree
  • 1 12 fl. oz can of Evaporated Milk
  • 3/4 cup Granulated Sugar
  • 2 Eggs
  • 1 1/2 tsp Vanilla Extract
  • 2 tsp. Pumpkin Spice

Mix until smooth. Using an electric mixer this only takes a minute, but you could easily mix this by hand with a whisk.


When the crust has finished it's initial baking, remove from the oven and fill with the pumpkin filling. Place back in the oven and bake for an additional 15 minutes.


During the second baking time prepare the topping. 

Chop half a cup of pecans and then mix with 1/4 cup of light brown sugar and 1/2 tsp. of pumpkin spice.


Sprinkle the topping evenly over the partially baked bars.


Bake for an additional 15-20 minutes or until a knife inserted into the filling comes out clean.


Let the bars cool completely and then slice, enjoy, and share!


Pumpkin Pecan Pie Bars
(Based on Nestle's Pumpkin Pecan Pie Squares)

Crust
1/2 Cup Whole Wheat Flour
1/2 Cup All-Purpose Flour
1/2 Cup Quick Cooking Oats
1/2 Cup Light Brown Sugar
1/2 Cup Softened Butter
1 1/2 Tsp. Vanilla Extract

Filling
1 15 oz can of Pumpkin Puree
1 12 Fl. Oz. Can of Evaporated Milk
3/4 Cup Granulated Sugar
2 Eggs
1 1/2 Tsp. Vanilla Extract
2 Tsp. Pumpkin Spice

Topping
1/2 Cup Pecans
1/4 Cups Light Brown
1/2 Tsp. Pumpkin Spice

Steps

1. Preheat your oven to 350°F and line a 13x9 pan with aluminum foil (no need to grease).

2. In a medium mixing bowl or bowl of a stand mixer combine the flours, oats, brown sugar, and softened butter for about a minute. Add in the vanilla and combine until crumbly. Press the mixture firmly into the pan and place in the oven for 15 minutes.

3. Meanwhile prepare the filling by mixing all ingredients together until smooth. Pour onto the partially baked crust and return to the oven for 15 minutes.

4. During the second bake prepare the topping. Chop the pecans and then combine with the brown sugar and pumpkin pie spice. Sprinkle evenly over the partially baked filling and return to the oven for 15-20 minutes or until a knife inserted into the filling comes out clean.

5. Let the pan cool completely and then slice into bars. Store in the refrigerator if you have any left.